

Makeup Wars: $20 Makeup Challenge.
/This week's "Makeup War" is a different take on a "war" because we took on a HUGE makeup challenge, the $20 Makeup Challenge. The challenge was to complete a full face of makeup for $20 (or less). It was difficult. Difficult to even think about! Most items in my makeup wardrobe sell for over $20 EACH, so I was stumped.
Once I started searching for products, the challenge started to get fun. I had a great time seeing how much I could save on beauty products. There are so many coupons out there and even BOGO 50% off offers. If you use things like CVS/pharmacy Extra Bucks too, you could really save. Ultimately I only used a 25% off coupon on two items and found a great L'Oreal Paris foundation on clearance at Target. Beside those extra bonuses, I payed full price for the rest.
I wound up with almost 20 items that could be mixed and matched to get my makeup done in under $20. But I wanted to really like the look and be comfortable wearing my $20 makeup. I finally found a combination of products that I really like, and decided that I could not compromise on foundation or mascara. The total was just $19.12. Yes, I had change to spare! The look is a beautiful everyday, lightly bronzed look that is perfect for these sunny days of summer.
Take a look at the seven products that make up my $20 face!
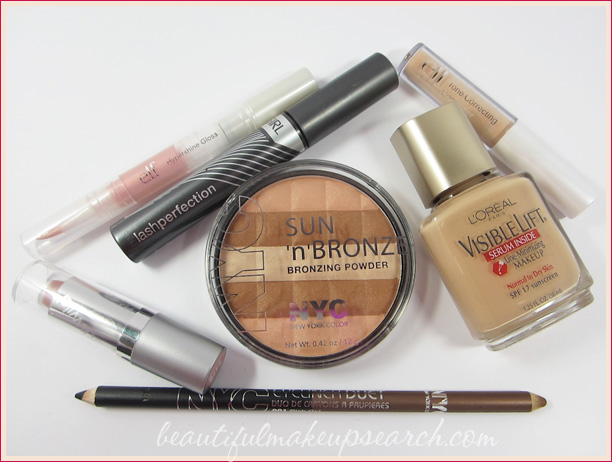
L'Oréal Paris Visible Lift Line-Minimizing Makeup in Buff - $5.88 [clearance at Target]
e.l.f. Tone Correcting Concealer in Light Beige - $1.00 [at Target]
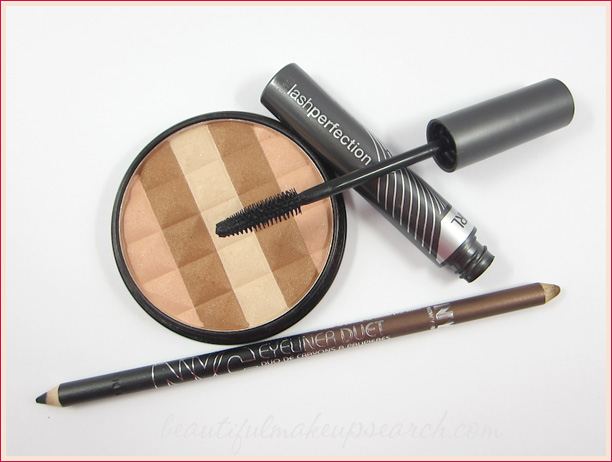
NYC Sun 'n' Bronze Bronzing Powder in Hamptons Radiance - $3.35 [at CVS with 25% off coupon]
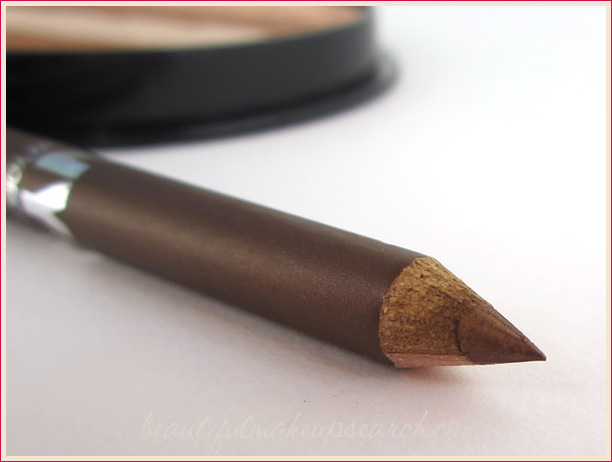
NYC Eyeliner Duet in Rich Girl - $1.72 [at Walmart]
COVERGIRL Lash Perfection in Very Black - $5.24 [at CVS with 25% off coupon]
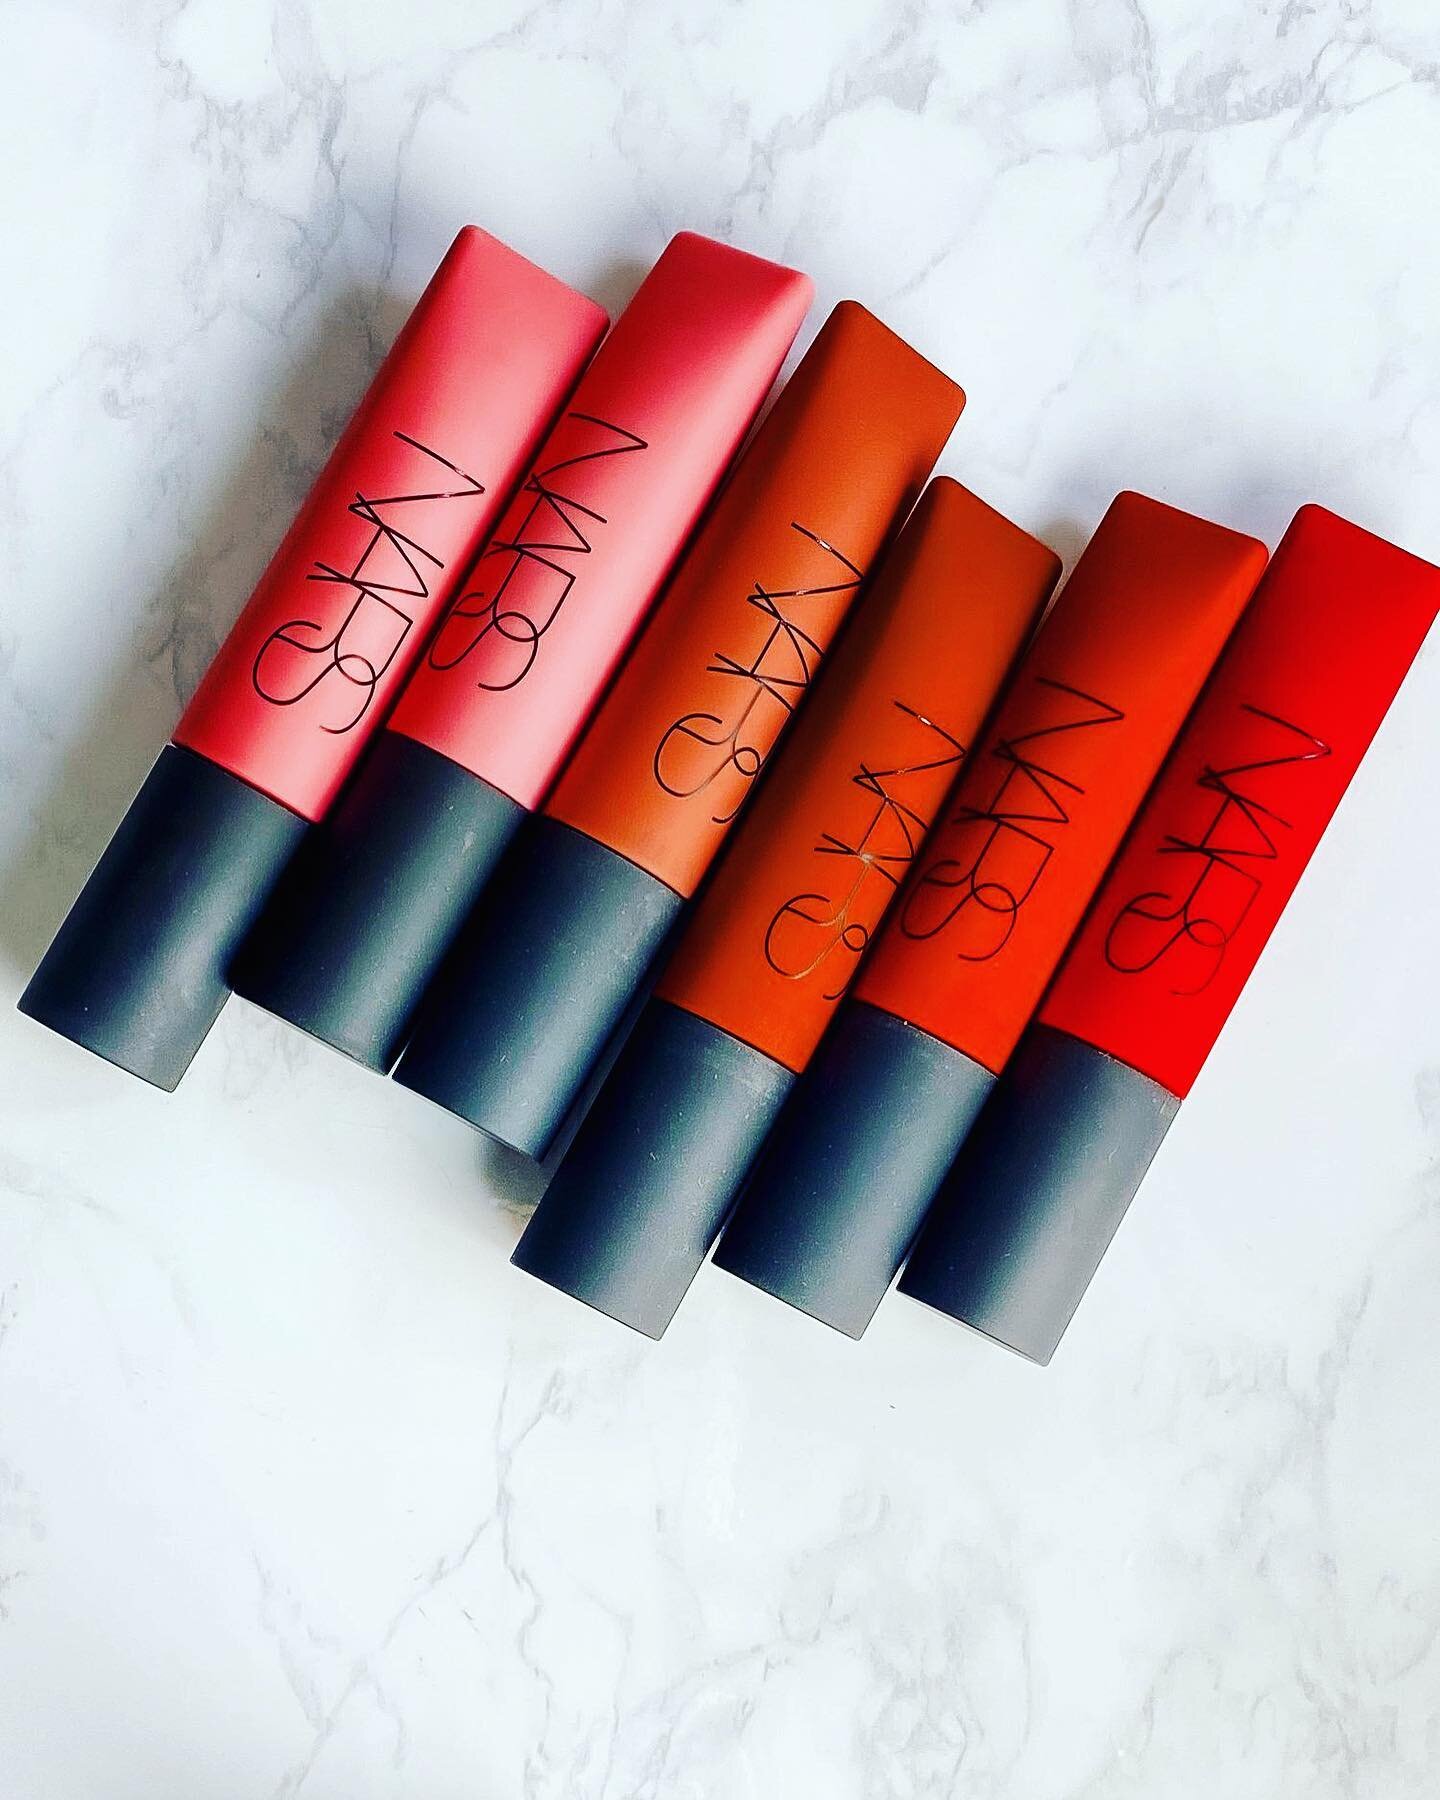
Wet n Wild Silk Finish Lipstick in Breeze - .93 [at Walmart]
e.l.f. Hypershine Gloss in Fairy - 1.00 [at Target]
Creating my look:
I applied the L'Oréal Paris Visible Lift Foundation all over my face, with my fingertips. I started in the center of my face and blended the foundation outward. Buff was not a perfect match for my skin, but I think it is close enough. This has a serum in it, so it glided over my skin and never settled into my fine lines.

Next, I applied the e.l.f. Tone Correcting Concealer. It was bit more yellow or sheer than I would like, but it did the job and hid my under eye circles. Luckily, I don't have too much of a problem there, so this was fine.
As the foundation was a tad lighter than what I would normally choose, I did a light dusting of the NYC Sun 'n' Bronze Bronzing Powder all over my face, as I would if I were using a powder. It gave my skin a bit of a darker look, but it was more luminescent and I really liked the way it looked. Plus, this face powder is scented. It smells a bit "beachy" - sort of like a light coconut suntan lotion.
Now I applied the bronzer again, where I normally do, in a number three (and backwards three) motion. This ensures to get a bit of the forehead, the cheekbones. and a bit of the outside lower part of the face into the chin.
For my brows, I used the lighter end of the NYC Eyeliner Duet pencil. It had a bit of shimmer to it, but when blending into the brows, you cannot tell.
Next I lined my upper and lower lash line with the same NYC Eyeliner Duet pencil. I had planned to use the darker shade until what I thought was a dark brown-black was actually black. Black eyeliner is not for this look, so again, I used the lighter shade. It was softer then I thought, and very easy to apply, especially after I ran it over my hand a few times to dull the too sharp tip.
You may notice that an eyeshadow is missing from the line up. Well, that is because I used the multiple shades in the NYC Sun 'n' Bronze Bronzing Powder on my eyes. I have done this plenty of times in the past with different bronzers or mosaic products, and I knew this was the perfect time to tell you about my method. I used the middle shade, which is a champagne color to the my entire lid. Then I took the pinkish looking color and used that on the inner corner of my lids, and finished up the outer corner and crease with the darkest shade.

COVERGIRL Lash Perfection Mascara is my everyday go to mascara, so I was very happy when my $20 budget had room for this. I use two coats on the top and one coat on the bottom. My lashes look great for daytime when using.

On my lips I started with the Wet n Wild Satin Lipstick and I was sort of afraid to apply a lipstick that cost less than $1.00. I was surprised that it went on with more pigment than I would have expected and it wasn't dry or chalky at all. In fact, it is enriched with Vitamins A, E & Aloe, so lips stayed and looked hydrated. I finished my lips with a quick coat of e.l.f. Hypershine Gloss. I just applied this to the center of my lips and sort of smeared it around with my lips. Fairy is that perfect mother of pearl color that just adds a hint of pink, a bit of dimension and a glossy look to the lips.
What do you think? An everyday summery, pinky bronzed look!

Be sure to check out how my friends did in the challenge below. You can click through all the posts by selecting NEXT or PREVIOUS, or simply click on their blog links below to be taken directly to the post.


How fun was this? Are you up to the challenge? What are your favorite inexpensive (I'm talking CHEAP) makeup products?