

Makeup Wars: Most Expensive Face Challenge.
/This weeks makeup war is another really fun one. Remember I posted a $20 makeup challenge? Well, this one is the complete opposite of that. The challenge is to come up with the most expensive face or look that we could, using the most expensive products we had on hand. I have plenty of prestige products, but many of them sit in the back of my makeup closet. I had a great time going into my beauty closet and finding my pricey products to create the most expensive look that I could.

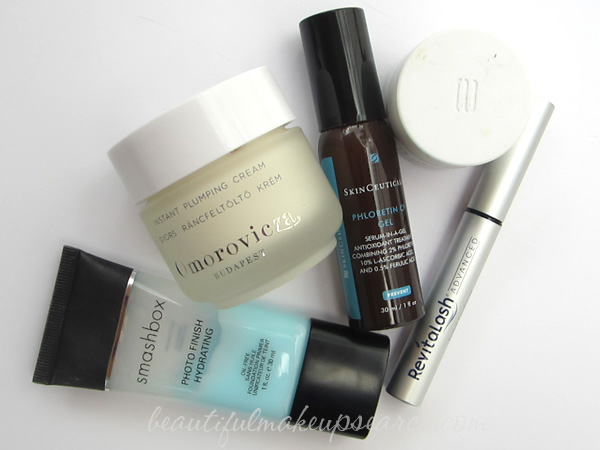
I started my look as I sat at my vanity, with a cleansed and toned face (I didn't count that into my look). I first used Zelens Triple Action Eye Cream ($120.00). This eye cream is a favorite of mine as it does a great job at getting rid of under eye puffiness. Next, I used SkinCeuticals Phloretin CF Gel Serum ($152.00) all over my face, followed by Omorovicza Instant Plumping Cream ($260.00)*. I love how this cream immediately fills in my fine lines and makes my skin look more firm. After a few minutes of letting my skin care set, I used Smashbox Photo Finish Hydrating Foundation Primer ($42.00). You can tell I use that a lot! I finished my skin prep with RevitaLash Advanced ($150.00). This is a lash growth serum that really adds length and fullness to my lashes over time. I brush it right on my top lash line. As this is a part of my daily routine and it is expensive, I had to include it in my look. It makes such a difference; I'm on my second tube.
While that all settled, I prepped my eye area which included the brows and a primer. I trimmed a few longer brow hairs with the Anastasia Beverly Hills Brow Scissors ($22.50)* and tweezed away a few stray hairs with her Tweezers ($28.00)*. I used a few of the products in the Anastasia Beverly Hills The Brow Pro Series Palette ($75.00)* to shape and fill in my brows with the MAC 208 Angled Brow Brush ($19.50). Inside the palette is a concealer, brow wax and 12 brow powders. I used the lightest side of the Anastasia Brow Duality Pencil ($23.00)* directly under my brow line to subtly highlight the brow. I finished the eye prep with Urban Decay Eyeshadow Primer Potion ($30.00). I use it all the time; that's why I have the professional size.

It was now time to perfect my face and make my skin look as flawless as it could. I started with Omorovicza Complexion Perfector BB SPF 20 ($135.00)*. This is a very light formula that takes a bit of working around to get the look right. I used my MAC 190 Foundation Brush ($33.00)* to apply this. Where I needed more coverage, I used Koh Gen Do Aqua Foundation ($62.00)*. A trick that I learned to brighten my skin is to mix foundation with a brightening serum, so I did this, as I do almost everyday, with NARS Brightening Serum ($61.00). It has a mother of pearl look to it, so it really adds a nice touch to the look. I mixed the two together on the back of my hand and then applied it with the Sephora Collection Advanced Airbrush Foundation Brush ($32.00). I had to concentrate this down the center of my face. Because all of this was a bit lighter than my skin, I finished my face with Armani Lasting Silk Compact Foundation ($59.00) as a powder, with the MAC 187 Duo Fiber Face Brush ($42.00)*.

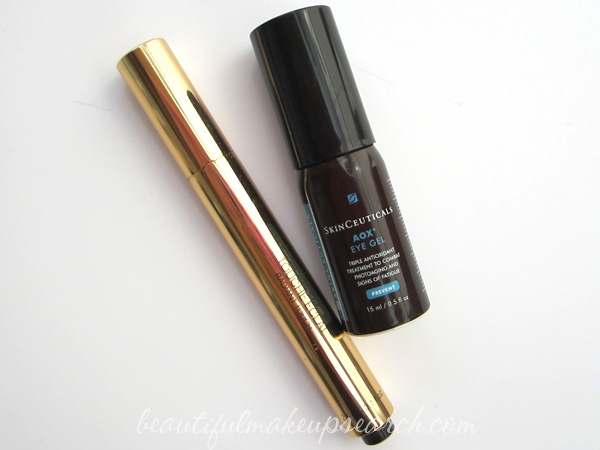
Next up was my concealer. I used YSL Touche Eclat ($40.00) just under my eyes. I always mix my concealer with an eye product to make it apply easier and help plump up lines better. I used this with SkinCeuticals AOX Eye Gel ($85.00)*. I was surprised at how much I liked mixing it with a gel versus a cream. I definitely noticed it apply smoother. I applied the mixture with the Sephora Collection Advanced Airbrush Concealer Brush ($24.00).
It as time to do the rest of my face, more definitively my cheeks, which I used only bronzers. Again, my skin was still looking just a tad lighter than my neck, and I wanted to warm it up. I did that by using Dior Nude Tan Bronzer in 001 Honey ($55.00) all over my face. I used the Sephora Advanced Airbrush Powder Brush ($32.00) with a light hand. Next I took MAC's 169 Large Angled Contour Brush ($34.00) and applied another Dior Nude Tan ($55.00), this one in 002 Amber, just into the hollows of my cheeks, right underneath my cheekbones. On the apples of my cheeks, I used Le Metier De Beaute Bronzer ($58.00)* in Maldives Magic, with the bareMinerals Bronzer Brush ($28.00)*. I finished up my cheeks by dusting a small amount of the CHANEL Lucky Stripes Iridescent Powder ($95.00)* on the very tops of my cheekbones, where I would normally use a highlighter. I used the same MAC 169 brush that I used to contour.
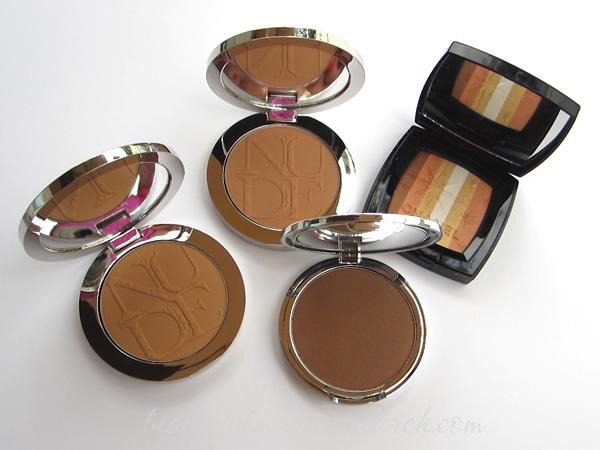
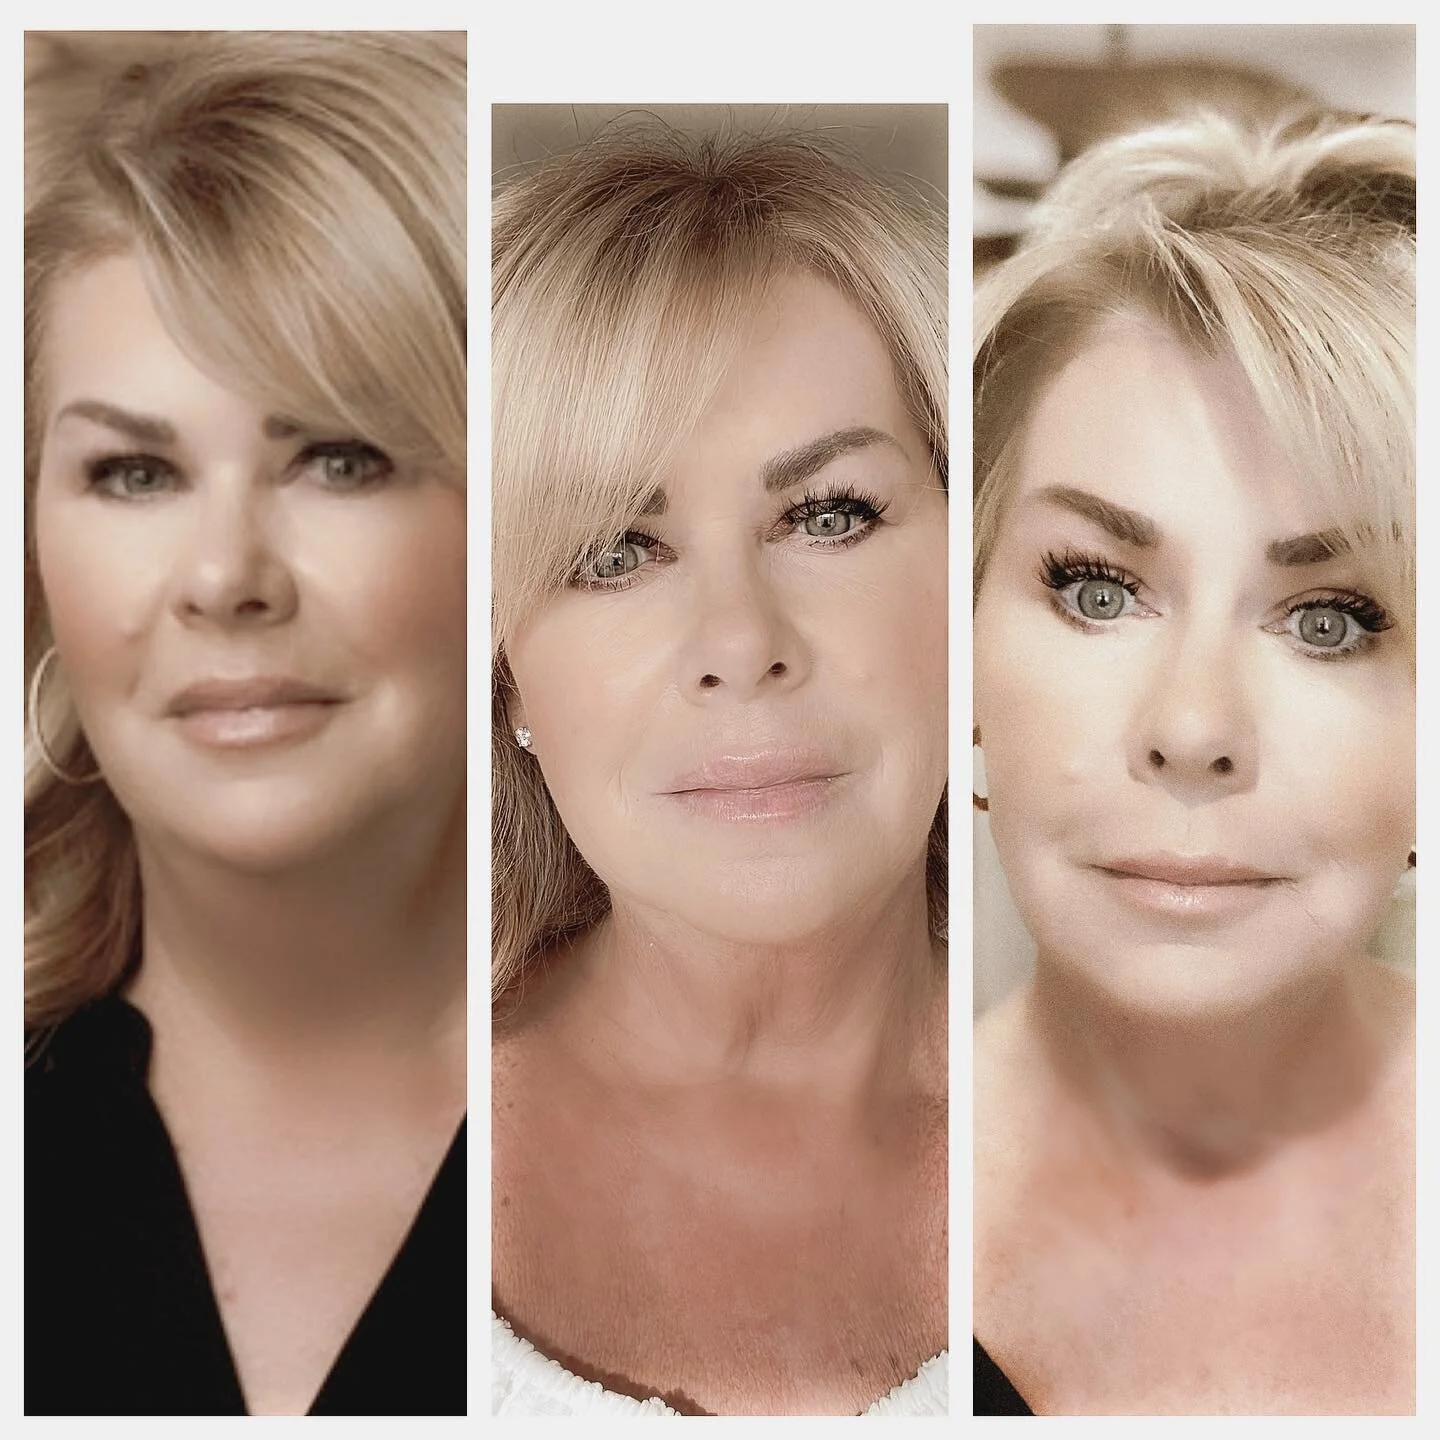
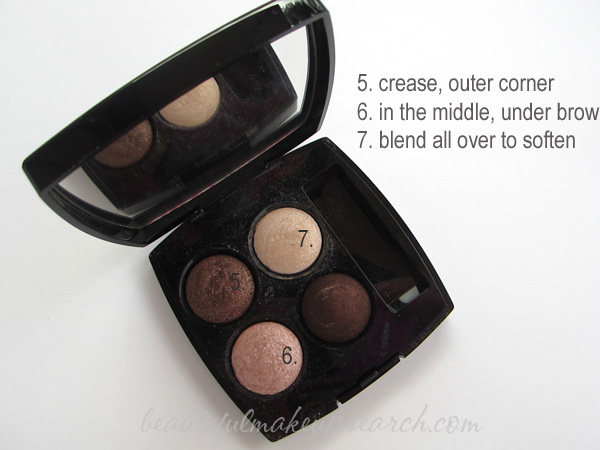
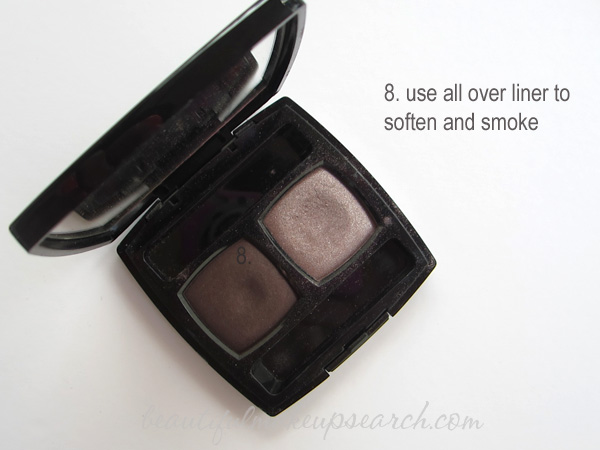
For my eyes, I started by lining both my upper and lower lash line with Bobbi Brown Kohl Eye Liner ($24.00) in Black Chocolate. For the shadow, I used three different palettes and applied eight of the shadows. I started with Dior 5-Colour Eyeshadow in Sunset Cafe ($59.00). The next shadows I used where from the CHANEL Quadra Eye Shadow ($58.00) in Tentation Cuivree. I went over the pencil liner with the darkest shade from the CHANEL Eye Shadow Duo ($42.00) in Misty Soft. The images explain where I applied the shadows to my eyes.

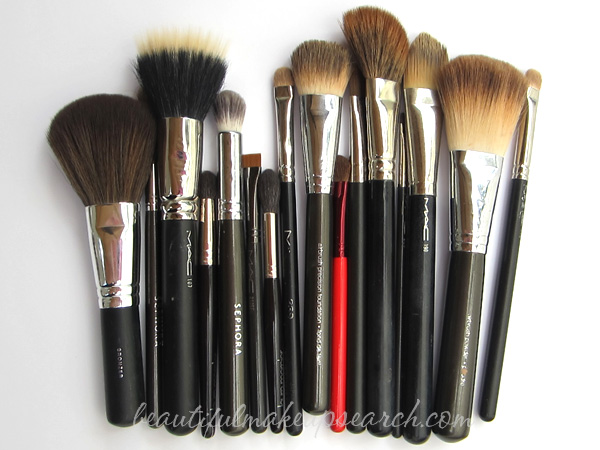
I used a lot of different eyeshadow brushes to apply the different shadows, and I honestly can't remember what I used where, but they are pretty self-explanatory. They were:
MAC 249 Large Shader Brush ($30.00)
MAC 239 Eye Shader Brush ($24.50)
MAC 239 Eye Shader Brush ($24.50) I did use two! It's my favorite shadow brush, and I use a few of them everyday.
MAC 212 Flat Definer Brush ($22.50)
MAC 275 Medium Angled Shading Brush ($24.50)
Sephora Collection Airbrush Crease Brush ($20.00)
Laura Mercier Eye Crease Travel Brush ($29.00)*
Laura Mercier Pony Tail Travel Brush (29.00)*
Finishing up my eye look, I lined the upper waterline with MAKE UP FOR EVER Kohl Pencil ($17.00) in 1K and the lower waterline with MAKE UP FOR EVER Kohl Pencil ($17.00) in 2K. I actually use both of those a lot! For my lashes, I curled them first with my favorite Shu Uemura Eyelash Curler ($20.00). I used the Too Faced Better Than False Lashes ($35.00)* system on my upper lashes and CHANEL Inimitable Intense ($30.00) on my lower lashes. I topped my lashes with Anastasia Lash Genius ($21.00)*. This adds a waterproof coat to any mascara.

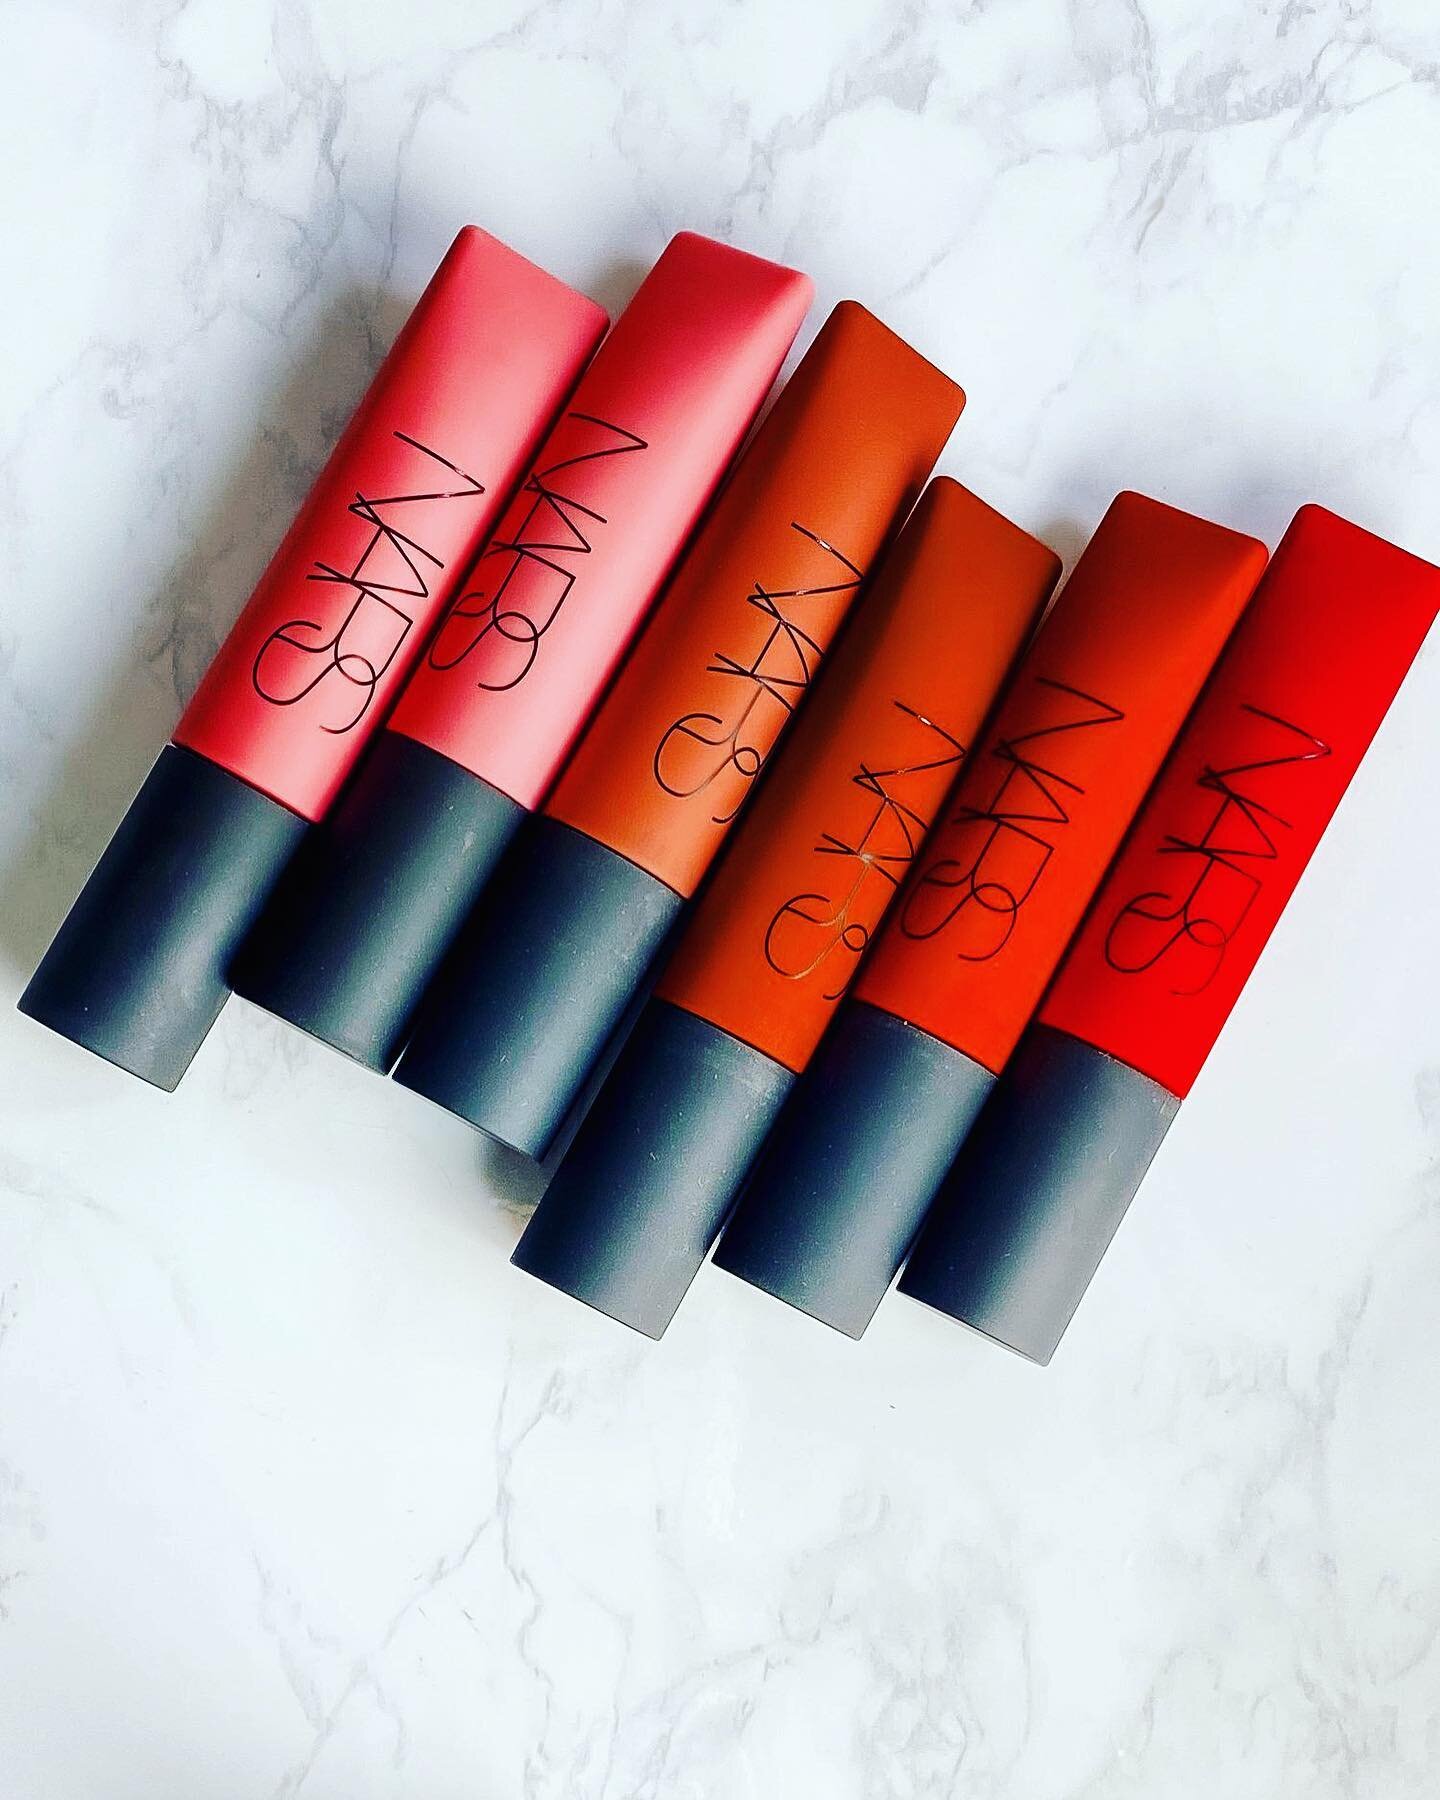
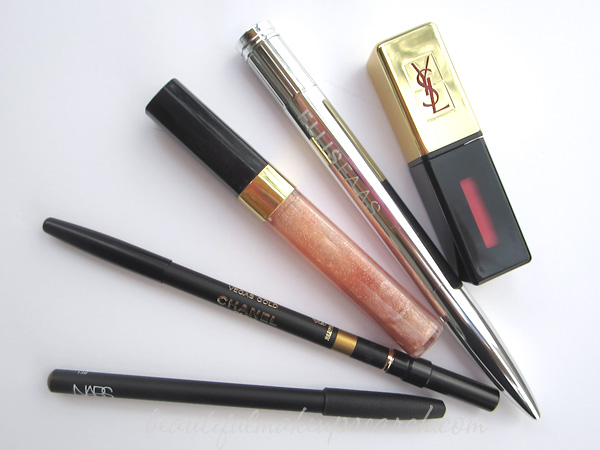
Finally, it was time to complete the look with my lips. I started by lining and filling them in with the NARS Lipliner ($22.00) in Papua. Next, I used YSL Glossy Stain ($32.00)* all over my lips. I did apply a gloss on top because I find that this stain lasts as a stain, and I do prefer a glossier look. I used Ellis Faas Lipgloss ($35.00)* L309 which is clear. I went over that with CHANEL Glossimer ($29.50) 141, just in the center of my upper and lower lip. This added a nude pink sparkle just to the center. I finished with just a dash of the CHANEL Precision Lip Definer ($29.00)* in Vegas Gold, just to the bottom center of my lip. It really makes the lips look poutier and highlights the area.
I don't know if you caught just how many brushes I used to create the look, but I did use 16 in total. The brushes alone make up for $448.50 of the total.
The grand total of all the products I used, all 51 of them, is $2526.50! That is a lot of money for one look. I should note that it took me just under 30 minutes minutes to apply everything in my look. Would I ever wear this much makeup at one time? Sure, but only for very special occasions. I don't have the patience to spend more than eight to ten minutes on my face for everyday.
I was surprised that I really didn't even have any expensive eye liners or lip liners in my stash. I know I have a few CHANEL and Dior liners somewhere; I just couldn't find them in time for the challenge. Trust me, there are very expensive liners out there that are double the price of mine, but the challenge was to use what we had, so that is what I did.
Do you think you have ever used more than $2500 in products just to create one look?
To see my blogger friends most expensive looks, click through them all by selecting <last look> <next look> or simply click on the post images below.


Disclosure: Some of the items in this post were provided by a brand or brand representative for editorial consideration over the years. I have marked those items with a *. I want to make clear that the majority of these items were purchased myself, with my own money. In fact, a few of the products were originally sent to me to test, and because I really liked them, I have re-purchased (some multiple times) on my own. For more information, please see my disclosure policy.