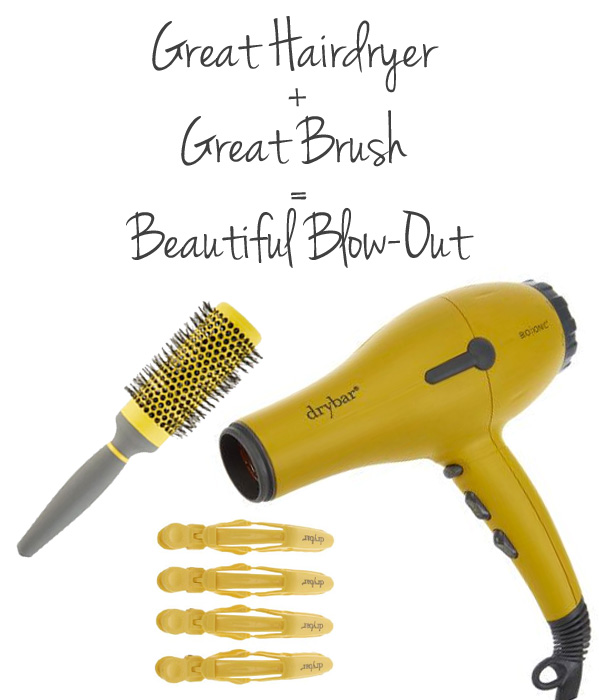
Makeup Wars: My Makeup Storage.

As a beauty blogger and someone who is simply pretty much obsessed with beauty products, I have a lot of products. I am fortunate to do what I do and test a lot of makeup, skin care and hair care items, but it can be overwhelming. Luckily, I have a teenaged daughter with a lot of friends, a sister who is just as addicted to beauty as me, and quite a few friends and family members that regularly go through my stash of products. I also make seasonal donations to local women's shelters and donate to events, etc.. Even with all these hands in my stash, I accumulate a lot.

At times, all these beauty products can seemingly take over my house. I had come up with a system of organizing that works for me. It is not a pretty system. It is not for anyone to see. I like to think of it as organized chaos, actually. While I really don't know where any one thing is, I sort of have an idea of where it may be.

Beauty Blogger Makeup Organization Tips

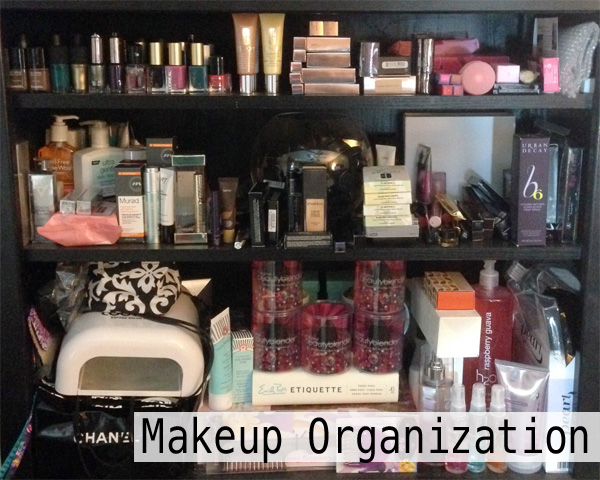
When I receive products, I unload them onto shelves in my home office. These are the newest of my beauty products; they have either recently been reviewed or need to be reviewed. I clean out these shelves about every month.

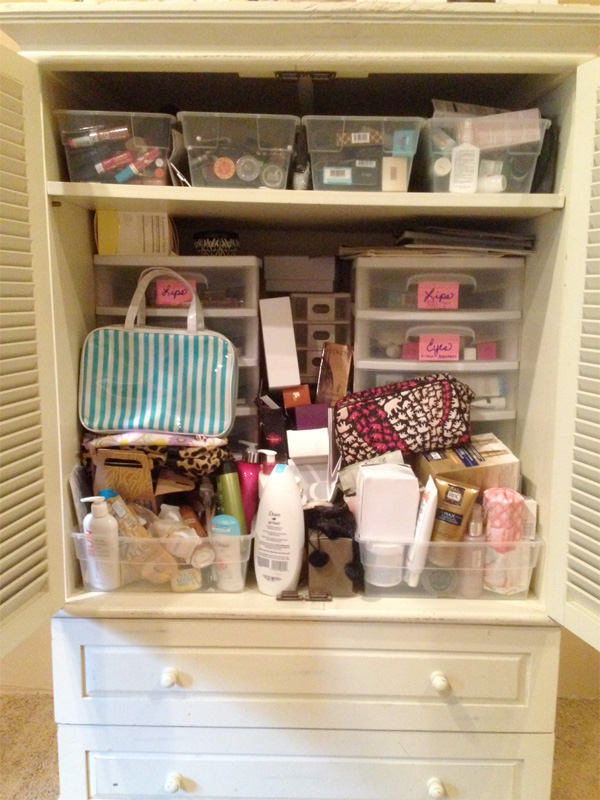
From those shelves in my home office, products make their way into a large armoire that I have in my bedroom. Seasonal products or favorites that I may pull out on a regular basis go on the top shelf in bins. I have one bin for lips, eyes, face and skin. Products that need more organizing or storing go into a set of large plastic drawers that I keep in the armoire. I have one unit for department store brands and another for drugstore and mass brands. I label the shelves, again for lips, eye, face and skin. My larger products and sets, products that aren't so easily stored are just thrown in here in front too. These are products I will probably be needing or using soon. Items such as razors, shampoo, body creams and such like to hang out here.

Makeup Organization

I try to do a major reorganization each quarter. This is when I toss old products and put together boxes to donate. As I do this, I fill up drawers in these two lingerie dressers.

Makeup Organization Drawers

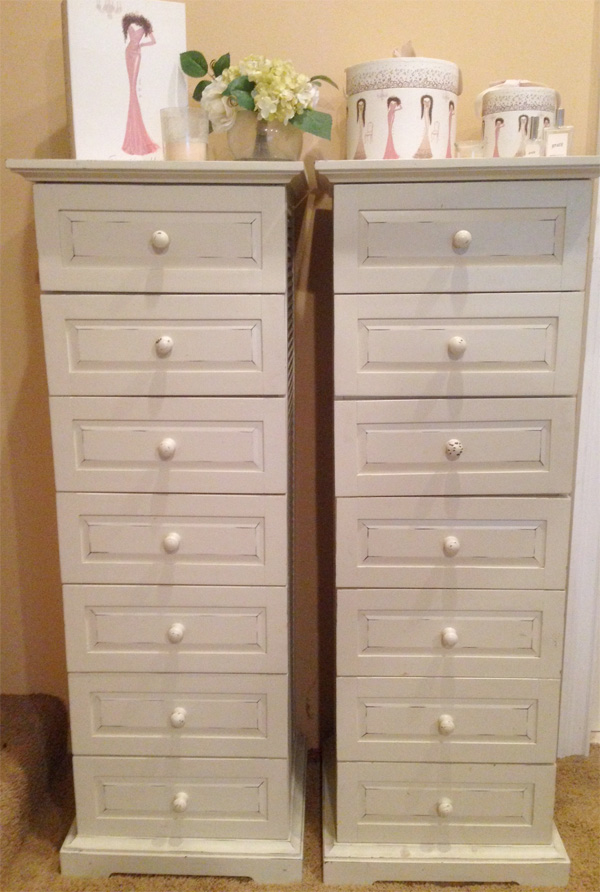
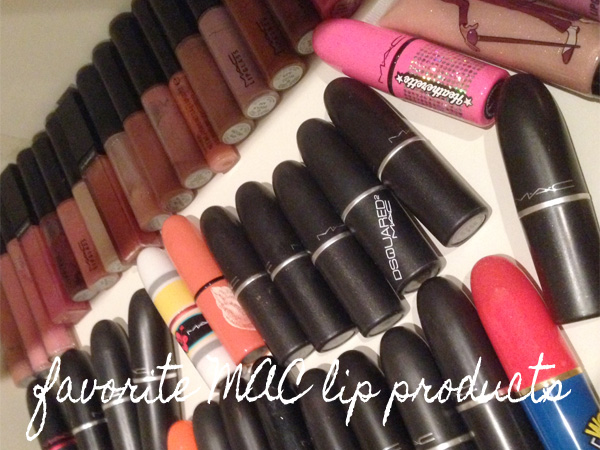
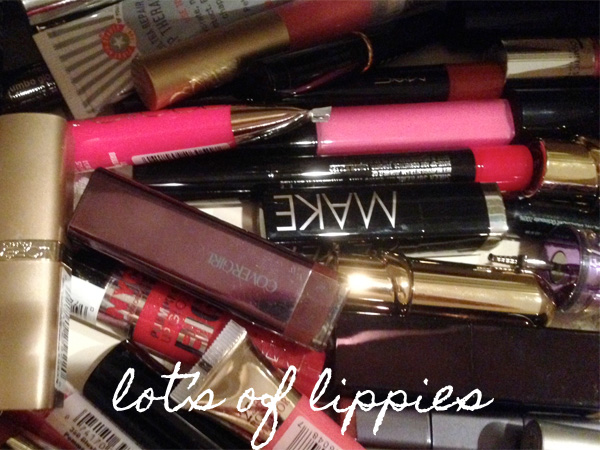
These dressers have a lot of smaller sized drawers that are perfect for storing makeup. Because I have many more drawers, I can further separate and organize more. Here I have a drawer for things such as my all time favorite MAC lip products, the eyeshadow palettes I use often, or just a random drawer of lippies.

Beautiful Makeup Search Makeup Organization: Favorite MAC Lip Products

Beautiful Makeup Search Makeup Organization: Most Used Eye Palettes

Beautiful Makeup Search Makeup Organization: Lippie Drawer

I told you it wasn't pretty, but for now, my beauty stash organization works well for me.

I can't wait to see how the rest of my beauty blogger friends store their stash of beauty products too.

Makeup Wars: My Must Have Hair Tools.

I am obsessed with a great blowout. If I could have a professional blowout everyday, I would be one happy gal - with great hair. Seriously? Don't you feel better when you're rocking a beautiful bouncy blowout? Luckily, I have learned to do my own blowout at home. The key to the perfect blowout is the right tools and products.

For products, I like a product that initially smoothes my hair, as in defrizz and seals the cuticle to prevent it from fizzing in the first place. I use the original Moroccanoil Treatment for that. I also like a volumizing mousse, because I like a lot of volume and need the extra hold it gives. My current mousse of choice is Dove Nourishing Curls Whipped Cream Mousse. Finally, I need a hairspray to hold my style in place, and I only use L'Oreal Paris Elnett Satin Hairspray (unscented) for this finishing touch.

For tools, I need a great hair dryer and brush. The best hair dryer I have ever tried is from the famed blow dry bar, Drybar. They only do blowouts, so I trust that their tools are the best.

Must Have Hair Tools and How to Get the Perfect DIY Blowout

I use the bright yellow Buttercup Blow Dryer. This professional hair dryer has a powerful 1875 watts of power that is surprisingly quiet. It delivers a powerful airflow while being gentle on hair. It has three temperature settings, two speed settings, a self-locking Cool Shot button, and a narrow concentrator for fast styling. It is super lightweight, so my arms never get tired. My hair is dry faster with this dryer than any I have ever tested as well.

See also: My At-Home Hair Color Disaster

Along with the dryer, I depend on the Full Pint Medium Round Brush. This helps to smooth my hair while adding in big soft curls.

To aid in drying my hair in sections, I use the Drybars Hold Me Clips. These have a self-locking system that allows for large sectioning. They grip the hair gently, so I never experience pulling.

To do a great blowout at home, work in small sections. This is where the clips are essential. I usually work with seven or eight sections, but only clip off four sections at a time, on each side of my head. I dry each section at a time. I hold my hair taut with the brush making sure I point the dryer nozzle down toward the hair to seal in the cuticle. Once the section is dried, I wrap the ends around the round brush and again, pointing the nozzle down, add extra heat to the the section I am curling for about 10 seconds and then hit the cool button for about 30 seconds to lock in the curl. I move to the next section until my hair is completely dry. After all the clips are out, I curl back a few of the pieces that need more curl, again using the round brush and a quick heat/cool blow. When finished, I usually flip my head over and spray with my favorite hair spray and then flip back upright. I then just use my hands to separate some pieces and then make sure every hair is in place before I give it another mist of hairspray.

This is me after about a ten minute DIY blow out session with the Buttercup, Full Pint Brush and Hair Clips.

The hair dryer and clips can be purchased from QVC in their Drybar Blowout In-a-Box kit for $169.00. It also contains two different nozzles and an extra filter.

The Full Pint Medium Round Brush can be purchased at Sephora for $40.00.

Check out my Makeup Wars blogger friends to see their must have hair tools.

Makeup Wars: Summer Foundation.

My summer makeup routine is very different from the rest of the year. I like to go lighter all over, as in wear less (lighter) makeup, especially when it comes to foundation. I don't require the heavier coverage that I normally do in the winter, nor do I like it when it is hot out. I found that layering two products works best for me.

This summer I am layering Clinique Moisture Surge CC Cream and It Cosmetics Celebration Foundation to get the perfect summer coverage and look for me.

Foundation + Powder for Summer | Beautiful Makeup Search

Moisture Surge CC Cream glides on over my skin as it protects it with SPF 30, which is obviously super important to have in your complexion perfector for summer. I like to apply the CC Cream with my fingertips. I start at the center of my face and blend out, sort of patting it into my skin. Alone, it offers beautiful, light coverage. It has a lightweight texture that is definitely breathable. After the CC Cream sets into my skin for a few minutes, I take a large fluffy powder brush and swirl it around into the Celebration Foundation. I brush it over my face, concentrating on my forehead, nose and chin, then onto my cheeks to and blend it all in. I don't use a ton of the powder, just enough to set the CC Cream, deepen the color a bit and blend everything together. Together, it lasts all through the day as it makes my skin look like a more perfect kind of natural for summer.

Take a look at what my beauty friends use to perfect their complexion in the summer.

 photo complexion-fixers.jpg